Rough electricity installation, or the initial installation of electricity prior to the addition of drywall, insulation and other barriers, is a fundamental component of a construction electrician’s responsibilities. If you’re considering this career path, electrician college is the perfect starting point, preparing you to qualify for an apprenticeship and eventually, a job.
At North American Trade Schools, both the classroom and lab sessions will give you the foundation you need to apply your skills in an apprenticeship and in your future role. Through courses such as Basic Electrical Theory, Electricity Principles and Applications, and Building Layout and Blueprint Reading, you’ll gain experience understanding general electrical concepts. While working independently as well as collaborating with a team, you’ll gain hands-on skills necessary for a successful career.
Below, continue reading to learn more about the process of rough electricity installation, a key component of your future curriculum.
Planning and Layout Process
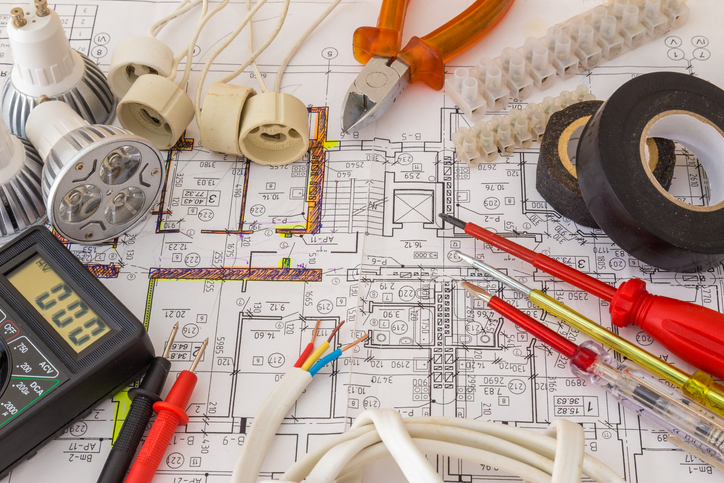
During electrician college, your course Building Layout and Blueprint Reading will come in handy for the first phase of rough installation. Whether you’re working on a home, condo, or commercial building, each print will be different, and you’ll need to analyze them to help you begin your work layout.
Planning the layout begins with determining where your boxes will be placed, and subsequently installing them in the correct areas. This is an important step in ensuring that the plugs are accessible in every area, and your hands-on training at NATS can help you develop the attention to detail required for this step. It’s crucial to note here that if the box is crooked, poorly supported, in the wrong place, or an incorrect model, corrections will need to be made.
Preparation, Drilling, and Pulling Process for Electrician Training
After planning and box placement is complete, you can expect to move onto other preparation measures that lead into the drilling phase. Planning how to run your wires will help you determine where you need to drill, as you determine the best route to take for each one.
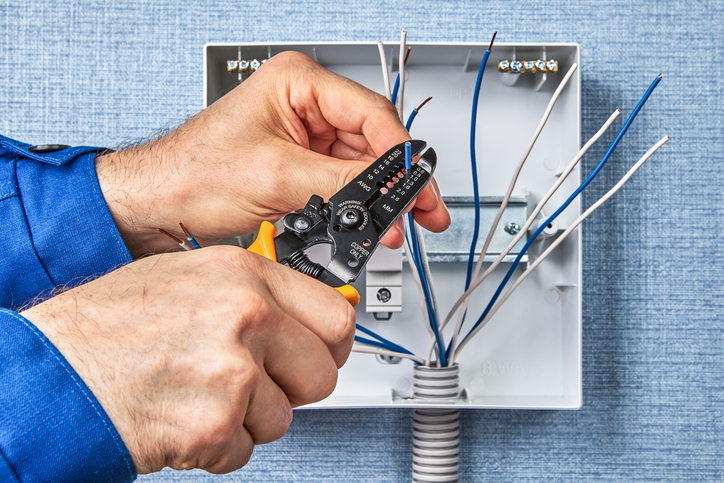
Based on your initial planning, you should be able to decide which wire size is needed for your wire pulling. Getting comfortable with varying wire sizes, their uses, and their ideal locations during your electrician training is highly encouraged, as it will help you to efficiently determine these solutions in the future. Once you know the necessary wire size, you can strip the insulation and insert the wires into the box as planned.
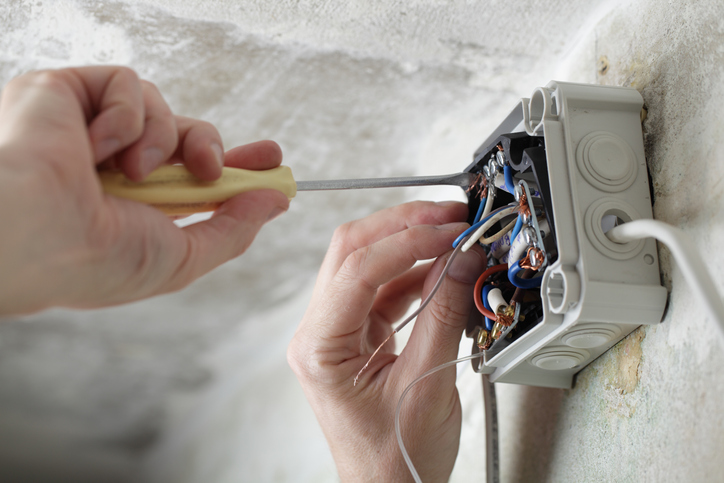
Completing the Electrical Box
It can take some finesse to leave a tidy electrical box once your work is complete. However, it’s worth taking the time to do so, because work is much easier to accomplish when the wires aren’t crossed.
Aside from sorting out each wire, other tips for a tidy box include creating a service loop, leaving some slack on the bond wire before screwing it down, and taking advantage of the space that’s available to you. After splicing your wires, you’ll want to make sure to leave them in a braid so that they’re collected and tidy. At NATS, not only will you receive the hands-on training necessary to help you feel confident on the job, but you’ll also learn from industry experts to guide you along the way to success.
Interested in attending electrician school?
Contact North American Trade Schools for more information!


