4 Essential Woodworking Techniques for Those in Cabinet Making Training
August 11, 2023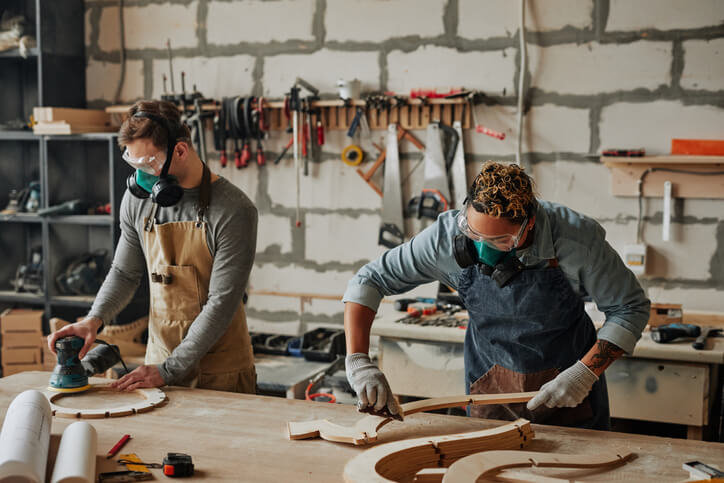
Like many other handcrafts, cabinet-making requires the use of several intricate skills and techniques. The accuracy, precision, and skill that go into it can only be obtained from quality learning and constant practice. This is why we have dedicated and passionate instructors at the North American Trade Schools (NATS) to pass down their wealth of experience to willing learners. If you choose a cabinet making career, you’ll be interested in the woodworking techniques discussed in this article.
Milling After Cabinet Making Training
Milling involves the conversion of rough lumber into symmetrical and precise work pieces, and it’s one of the most useful techniques you’ll learn during cabinet making training. It is the wood preparation process that begins with flattening one face of the board at the jointer and then smoothening the board’s opposite face at the planer. Next, you can make the board’s remaining edge true to the other by using a table saw and a chop saw.
Jointing
Jointing is the process when you smooth one face of the workpiece so you can reference it from that face whileTruing up the workpiece. During your journey through the cabinet making certificate program you will be shown the importance of good jointing techniques.
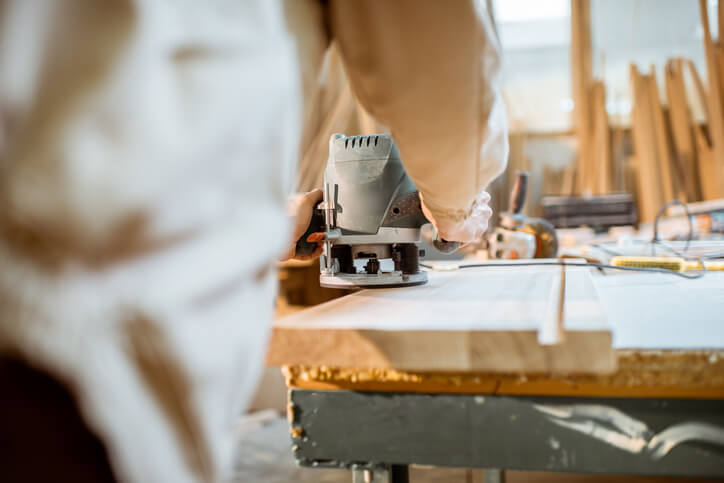
Planing
Planing is a surface-smoothing technique that rids the wood surface of any defects and excess material. You must learn to use a hand or electric planer to carry it out. When properly done, the lumber board will turn out with an even thickness across its required length. This is after you must have used the jointer to flatten one face of the board.
Sawing
Sawing is unarguably one of the most important parts of cabinet making. Our cabinet making courses provide insights into how to use several sawing tools and the various techniques for handling them. These tools include the chop saw, handsaw, table saw, circular saw, and chainsaw, among other sawing tools used for different purposes and project types. The key to using some of these tools is maintaining the right posture to achieve maximum impact without endangering yourself.
Drilling and Boring
While drilling creates holes in the wood, boring further enlarges the hole by removing excess material along the depth of the opening. Both processes will need precise control of the work tools to create openings with the right fit, and this requires adequate knowledge of the use of the proper drilling and boring tools and their accessories.
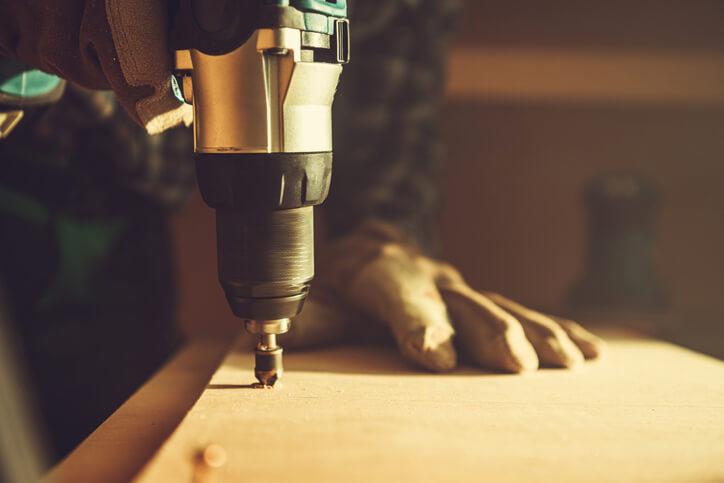
While using the drilling press, ensure the drill is at the correct speed, as drilling too fast can break the drill bit and create poorly machined holes. And while drilling in deep cuts, take out the drill at intervals to cool and clean the bit.
Finishing
This is the last stage of the cabinet-making process. It involves a series of actions, including sanding, filing, and rendering, all of which are taken to add finishing touches to the cabinet. For the best results, start with coarse grit sandpaper and sand in the board’s grain direction to create a fine grit surface free of scratches.
Top it off by applying thin coats of the selected finish across the entirety of the cabinet while looking out for joints and other hidden parts. Lightly sand on the cabinet surface before applying the topcoat, if necessary.
Want to earn your cabinet making diploma?
Contact NATS to learn how you can get started.


