
Cabinet making is an intricate and complex woodworking skill that requires precision, accuracy, and attention to detail. As a cabinet making school student, you’ve probably spent much time and effort crafting your cabinets to perfection. But what about finishing them? While cabinet making requires a high degree of technical skill, it’s the finishing that gives a cabinet its final touch of class and sophistication
The final step in the process can make or break the overall look and feel of your creation. Here are five finishing tips to help you achieve a professional-looking finish for your cabinets.
1. Prepare Your Surfaces After Cabinet Making Training
Before you start applying any finish, make sure your surfaces are properly prepared. This means sanding them down to remove any rough spots or imperfections. Start with a coarse grit sandpaper and work your way up to a finer grit, just as you were taught in cabinet making training. Make sure to sand in the direction of the grain to avoid creating any scratches.
After sanding, wipe down the surfaces with a tack cloth to remove any dust or debris. Pay attention to the insides of your cabinet and cover exposed hardware with tape.
2. Choose the Right Finish
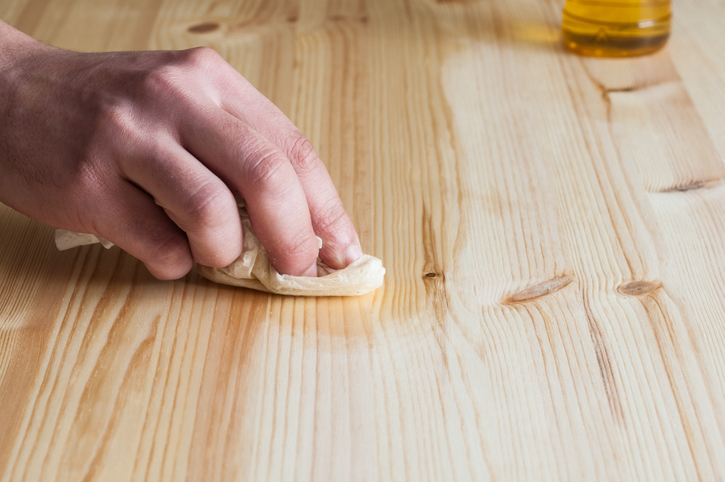
There are many different types of finishes to choose from, each with its own benefits and drawbacks. The type of finish you choose will determine the final look and feel of your cabinets, as well as how they will stand up to wear and tear over time. Some popular options include lacquer, varnish, and oil-based finishes. Consider the type of wood you’re working with, as well as the desired look and feel of the finished product. If you’re unsure which finish to use, talk to your instructor or a professional in the field.
3. Apply Thin Coats
When applying your chosen finish, it’s important to remember that less is more. If you apply too much finish at once, it may drip and have uneven coverage, which can be difficult to fix later.

To achieve a thin coat, apply a small amount of finish to your brush or spray gun. Then, work the finish into the wood, covering the entire surface evenly. Be careful not to overwork the finish, as this can result in drips and an uneven appearance. Use a brush or spray gun to apply the finish, making sure to follow the manufacturer’s instructions for application and drying times.
4. Sand Between Coats
After each coat has dried, use fine-grit sandpaper to lightly sand the surfaces, drawing inspiration from insights gained in your cabinet making courses. This will help remove any imperfections and ensure that the next coat adheres properly. Be careful not to sand too much, or you may remove some of the finish.
5. Finish With a Topcoat
Once you’ve applied your final coat of finish, consider adding a topcoat to protect the surfaces from wear and tear. A topcoat can also help enhance the appearance of the finish, making it look more vibrant and lustrous. Some popular topcoat options include polyurethane and wax.
Remember to prepare your surfaces properly, choose the right finish, apply thin coats, sand between coats, and finish with a topcoat. With these tips in mind, you’ll be able to create beautiful, high-quality cabinets that will stand the test of time.
Are you ready to begin your training at cabinet making school?
Contact NATS to learn how you can get started.


