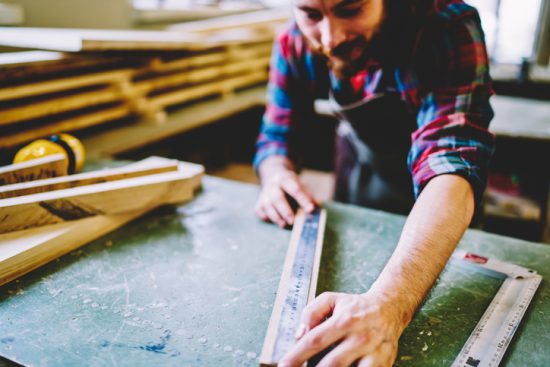
If you’ve always loved the satisfaction of putting something together with your own two hands–with a keen eye for detail–you’ll probably be a great fit for a cabinetmaking career. Cabinetmakers select wood, create and interpret drawings and operate various woodworking machinery in order to construct cabinetry of all sizes and functions. In the process of finalizing cabinet construction, cabinetmakers will typically conduct the process of lamination.
Lamination, the process of making a material more durable by using glue and heat to bind it with another surface, is important in preserving cabinets from deterioration or general wear and tear. As a cabinetmaker, you’ll implement the process of wood lamination to ensure that the cabinets you build can be used for years to come. Below, discover everything you need to know about wood lamination.
Beginning the Lamination Process After Cabinet Making School
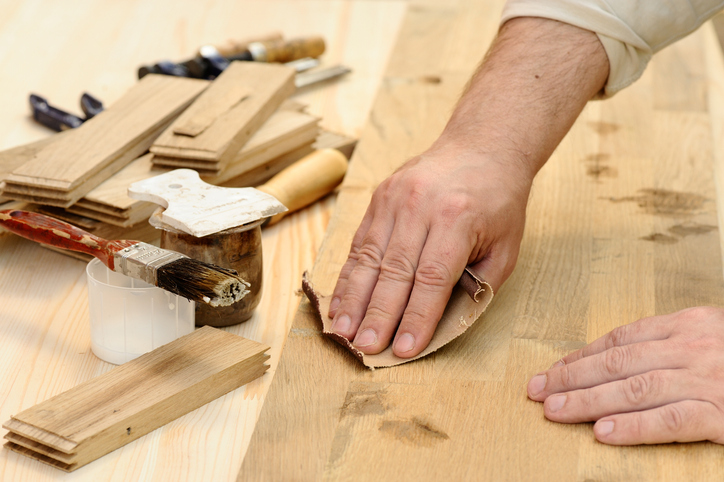
Once you’ve completed your cabinetmaking training, you’ll be utilizing the lamination process to finish off each piece of cabinetry. However, before beginning, it’s important to correctly prepare the cabinets for lamination, as failure to do so could result in a scratched or incomplete lamination job.
Before laminating, you’ll want to sand each cabinet completely–ensuring that there are no scratches or dents on the wood. If there are scratches, consider filling them with putty in order to create a smooth, workable surface. Next, you’ll want to gather your supplies. Your main supplies will consist of veneer (thin sheets of melamine or wood) and glue. Make sure you also have on hand a roller, contact cement, an adjustable router and some eye protection. Once you find a well-ventilated area to work in, you’re ready to get started.
Applying Laminate to Cabinets
Once you’re ready to laminate, you can cut the veneer to fit the cabinet you’re working with. In order to be safe, cut it down to about a centimetre larger than your surface, as this gives you room to clean up everything when the process is complete. Next, you can remove any dust or debris from your laminate, and open your glue. Working in long strokes with your roller tool, apply the glue to both the bottom of the veneer and the top of the cabinet surface. Once each surface is thoroughly coated, you can place the veneer onto the cabinet. However, it’s important to make sure that the centimetre you’ve originally left is hanging off the edges.
Finishing Up the Lamination Job
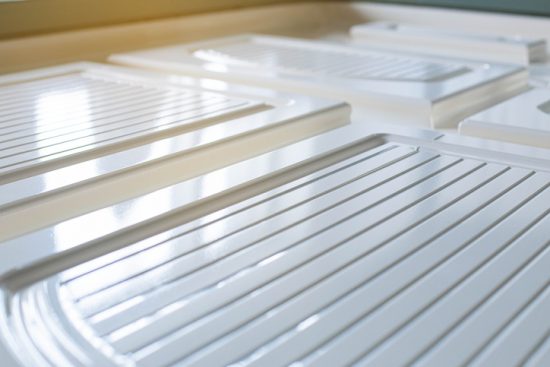
As a graduate of cabinet making school, knowing how to properly complete the lamination process is pivotal in ensuring a neatly finished product. Once your veneer is attached to the cabinet surface, use the pressure roller to obtain a durable attachment between the two surfaces. Next, route the edges, maintaining a consistent distance between the router and the edge to keep a consistent appearance. During this step, use goggles to protect your eyes. Once you’ve routed the edges, the lamination process is complete! After letting the lamination sit, you can attach the protected cabinet fixtures to their designated location.
Are you ready to enrol in cabinet making courses?
Become an expert at this craft with a program at the North American Trade Schools.


